V had faced down cyberpsychos, Arasaka kill squads, and more than a few overly confident gangoons, but nothing quite prepared them for the moment a literal tank dropped into the middle of a Dogtown arena. In Cyberpunk 2077: Phantom Liberty, the Chimera is less of a boss fight and more of a walking siege engine with a grudge. The environment might offer high ground and a few sturdy pillars, but the machine doesn't care much for urban planning. It simply shreds concrete like paper.
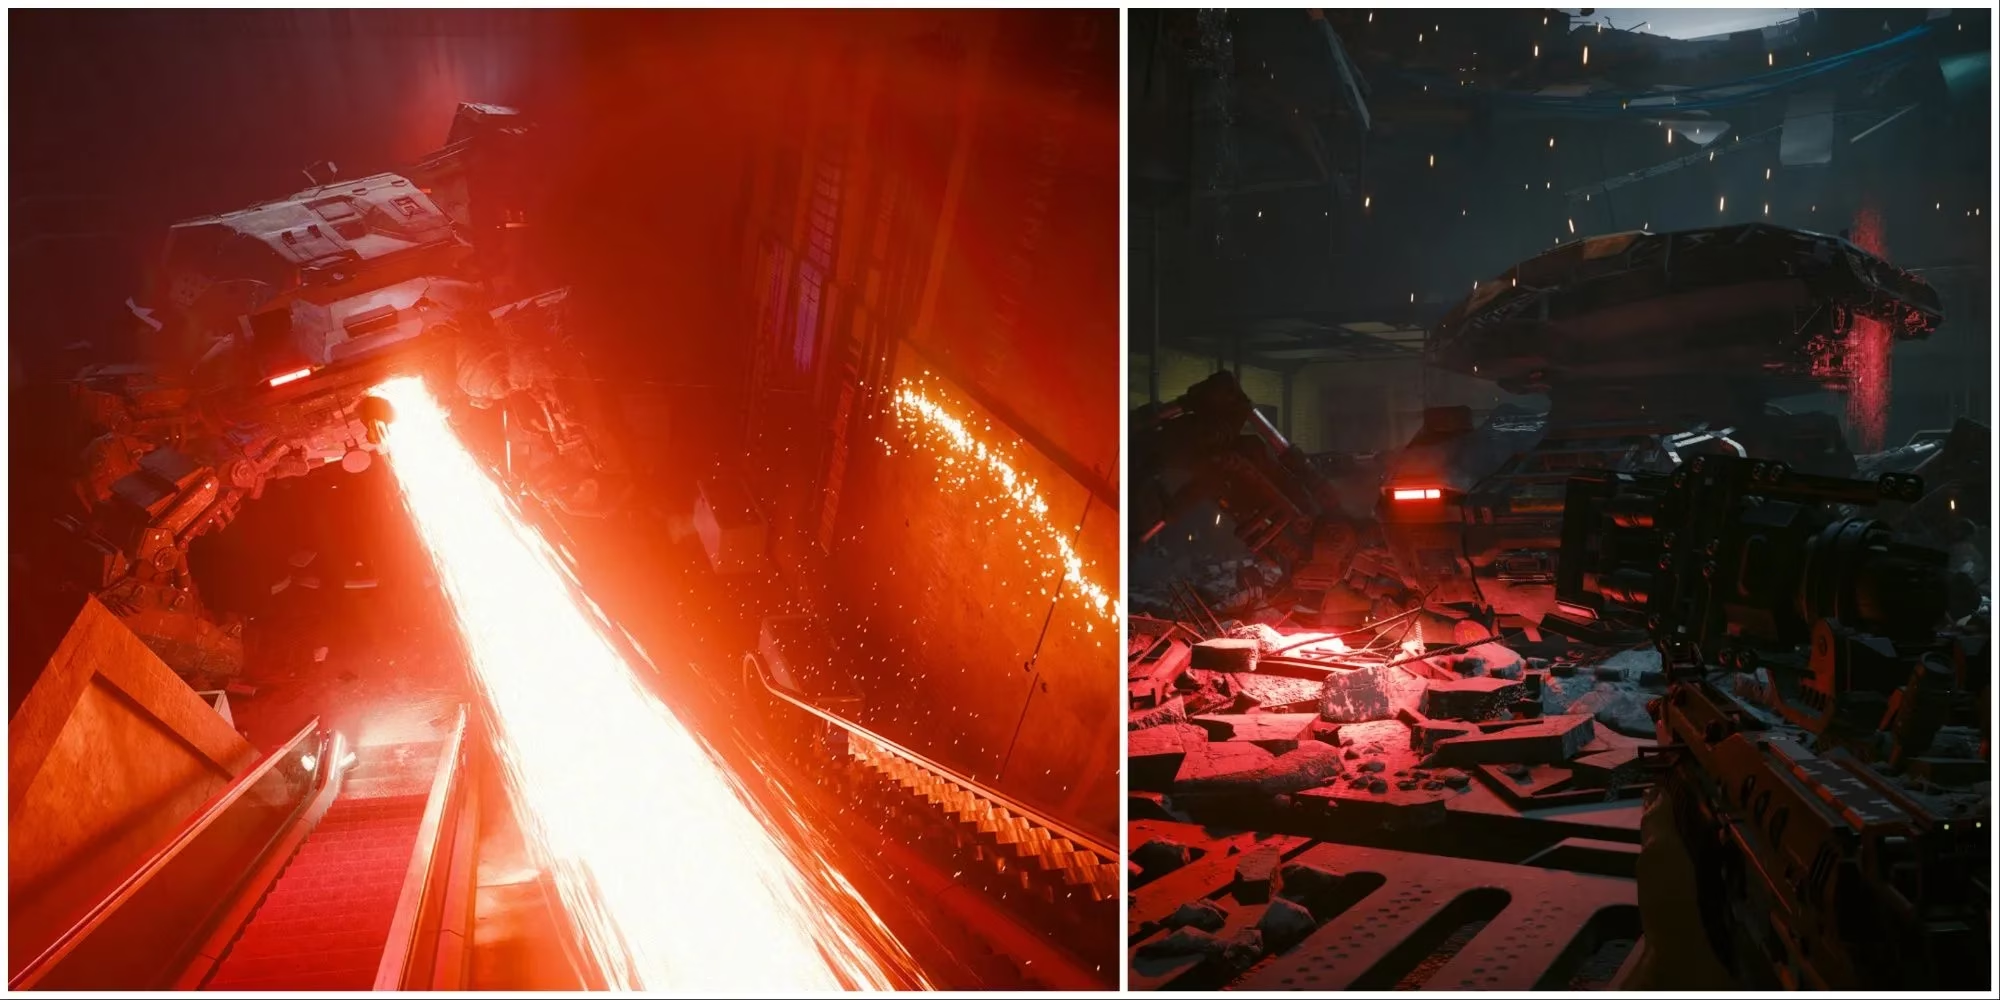
The fight kicks off after a cinematic chase that feels ripped from an old-school action game. V is cornered, backed into a dusty stadium, with only one way out: through the Chimera's armor. Madame President offers some supporting fire, but let's be real: she's not exactly a solo edgerunner. The heavy lifting falls squarely on V's shoulders, and the first mistake most players make is treating this like a regular firefight. That mech has no interest in trading body shots. It wants a demolition derby, and V is the target.
The arena is a large square with an upper walkway that the Chimera cannot climb, giving V the high ground. That sounds like a gift until the tank starts spraying its minigun and charging its laser beam. Concrete barriers crumble, metal railings turn to scrap, and suddenly there is no safe corner. The key is to keep moving. When the Chimera spins up its guns, duck behind whatever cover is left, then immediately rotate around the arena before that cover gets vaporized. Standing still is a death sentence, plain and simple.
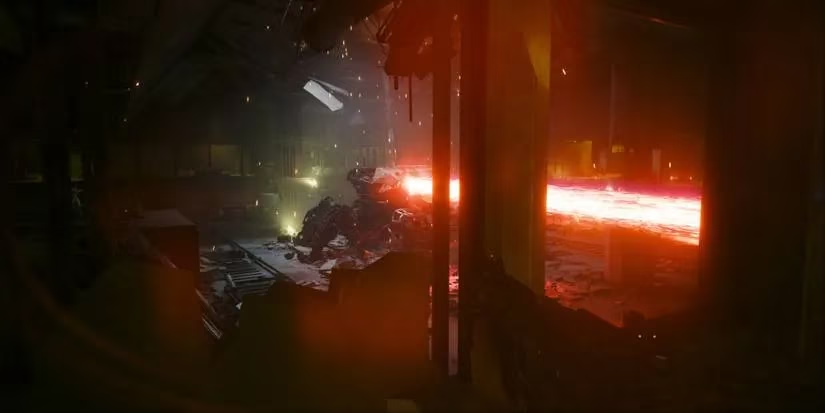
One of the best tools in the arena sits on tripods in two opposite corners: heavy weapons with enough punch to crack the Chimera's armor. V needs a decent Strength attribute to rip those guns free, but once armed, the payoff is massive. The catch? These weapons run dry fast, so hold fire until the tank enters a cooldown period, then unload into its weak points. It's a classic risk-reward move. Sprint across open ground, grab the gun, and hope the mech doesn't decide to swat V like a fly.
Weak points are the name of the game here. The Chimera is armored everywhere except the joints on its legs. Those small gaps are where focused fire actually matters. Of course, the tank doesn't just stand there and let V aim. It rotates, bobs, and crawls around the arena like it's playing hard to get. While it rains bullets and lasers, hitting those joints requires patience, a steady hand, and a willingness to spend more ammo than feels comfortable. Empty magazine after magazine. It's not flashy, but it works.
The second phase really turns up the pressure. The Chimera releases a swarm of drones, and here's where the fight gets personal. There are two types: combat drones and repair drones. The combat drones buzz around, taking potshots at V and generally being a nuisance. But the repair drones are the real problem. If left alive, they will pump the boss's health bar right back up, undoing minutes of painful progress. That's a slap in the face. Seeing all that damage vanish feels like the game is daring V to quit. Don't let them heal the tank. Track the repair drones, shoot them down first, and then return to the legs. If you don't, you'll be stuck in a loop longer than a braindance rerun.
A good way to think about the encounter is in phases:
| Phase | What the Chimera Does | What V Should Do |
|---|---|---|
| Phase 1 | Spins minigun, fires lasers, destroys cover | Keep moving, use cooldowns, target leg joints |
| Phase 2 | Releases combat and repair drones, continues assault | Destroy repair drones first, then focus weak points |
| All phases | Rotates and raises/lowers body to shield joints | Wait for pauses, use heavy weapons if possible |
-
🏃 Stay mobile: Never stay in one spot, or the Chimera will turn it into rubble.
-
🎯 Aim for leg joints: Those exposed joints are the only reliable weak points.
-
🛠️ Grab heavy weapons during cooldowns: They hit hard but run dry fast, so make every shot count.
-
🚁 Destroy repair drones first: If they heal the boss, you'll lose all your progress in seconds.
The fight is ultimately a battle of attrition and careful aim. There's no secret one-shot trick, no silver bullet that drops the Chimera in seconds. V has to stay mobile, rotate between cover spots, grab heavy guns when the cooldown windows appear, and keep those weak points under pressure. The arena provides enough munitions and explosives to win, but only if V doesn't waste them. Think of it like a very dangerous dance: lead, dip, shoot, repeat.
By the time the walking tank finally collapses in a heap of smoke and scrap, most players will have burned through a small armory's worth of ammo and shouted at least one curse at the repair drones. But that's the charm of Phantom Liberty's toughest set piece. It demands grit, movement, and the patience to survive a real mechanical nightmare. V might walk away missing a few chunks of health and a lot of pride, but at least the Chimera is nothing more than a pile of broken steel.
Next time a tank rolls into Dogtown, maybe call in sick.